
If you’ve been following this Everly Heights project at all, you’ll know I’m using Stable Diffusion to create cartoons and comics set in an original world. As I work on making our first animated pilot Very Special, I’ve been thinking a lot about our initial Character Maker SDXL model, which I built to create character sheets, like the one for my character Mr. Matheson. You can find the original tutorial here. Trivia: This dataset eventually powered Mr. Matheson’s Aritheme-TIPS.

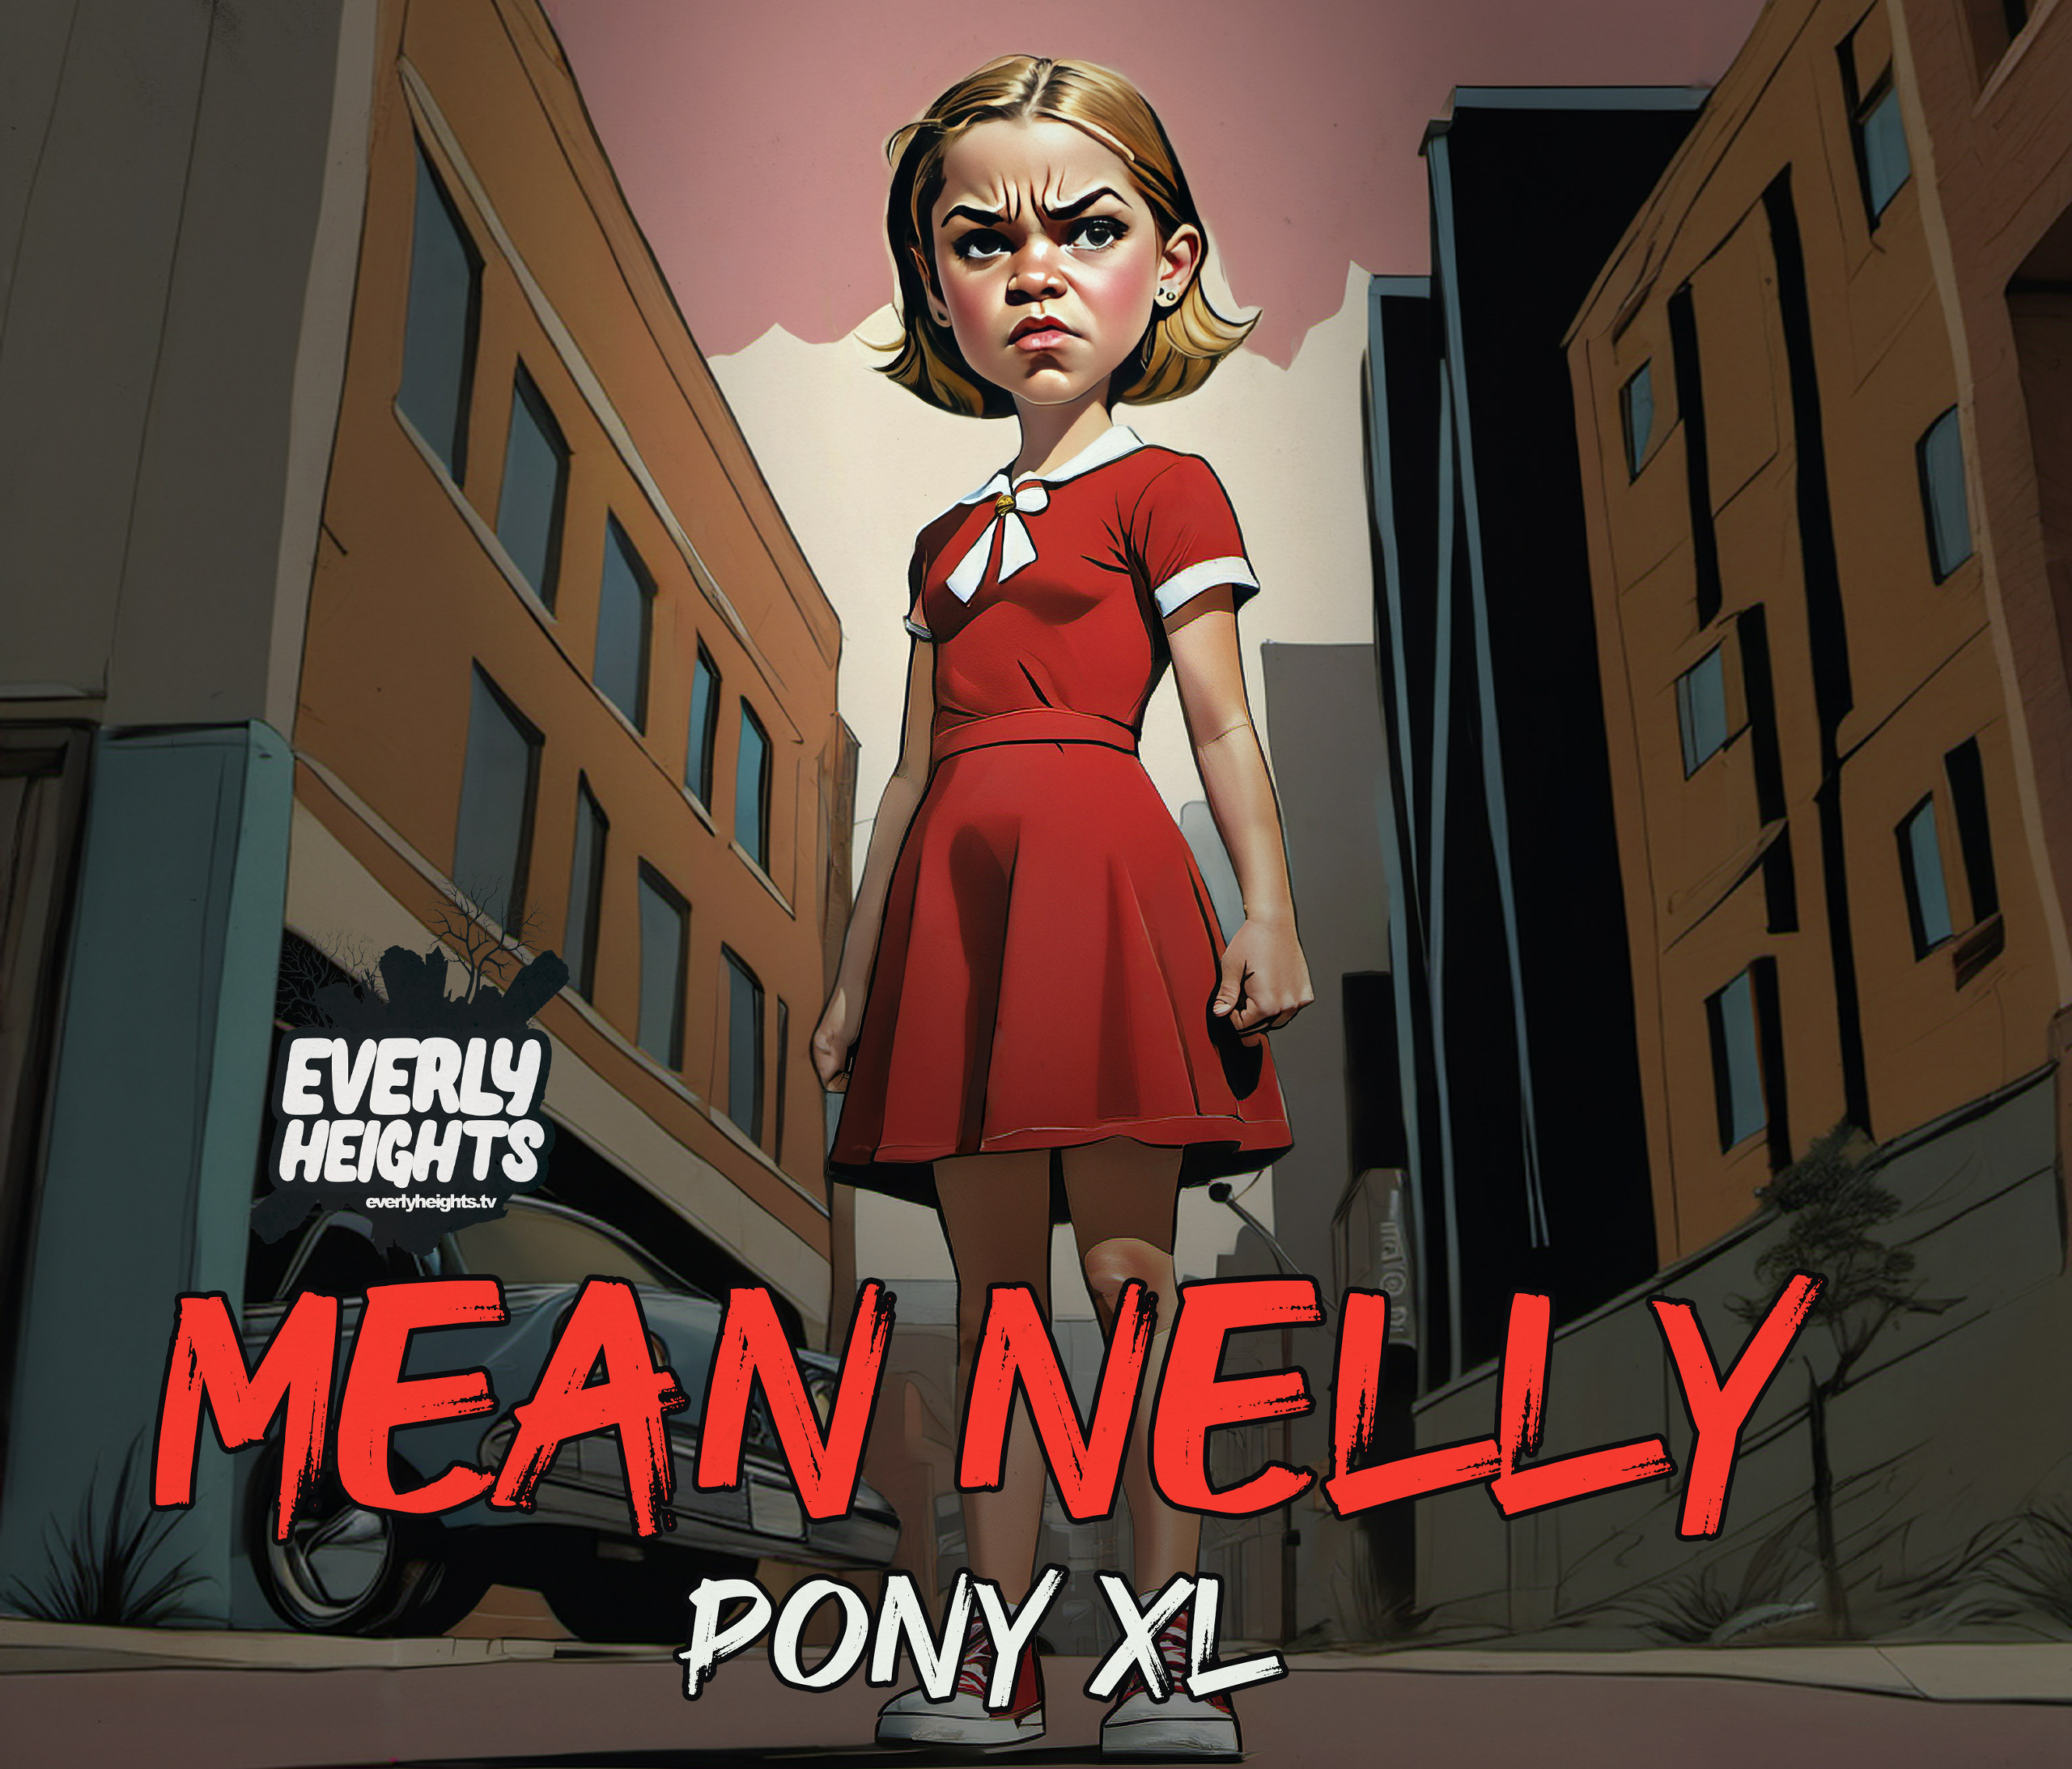
After hearing a ton of hype about Pony Diffusion, and SDXL finetuned model based on anime, I decided to go ahead and retrain my Character Maker model in Pony, and the results from Character Maker Pony XL are fantastic.

In this tutorial, I’ll take you through the process of building a robust dataset of example images to train a LoRA for your original character, with an eye to automation so you can generate 40-ish images for your character in one shot!
Generate A Character Sheet Using XYZ Grid

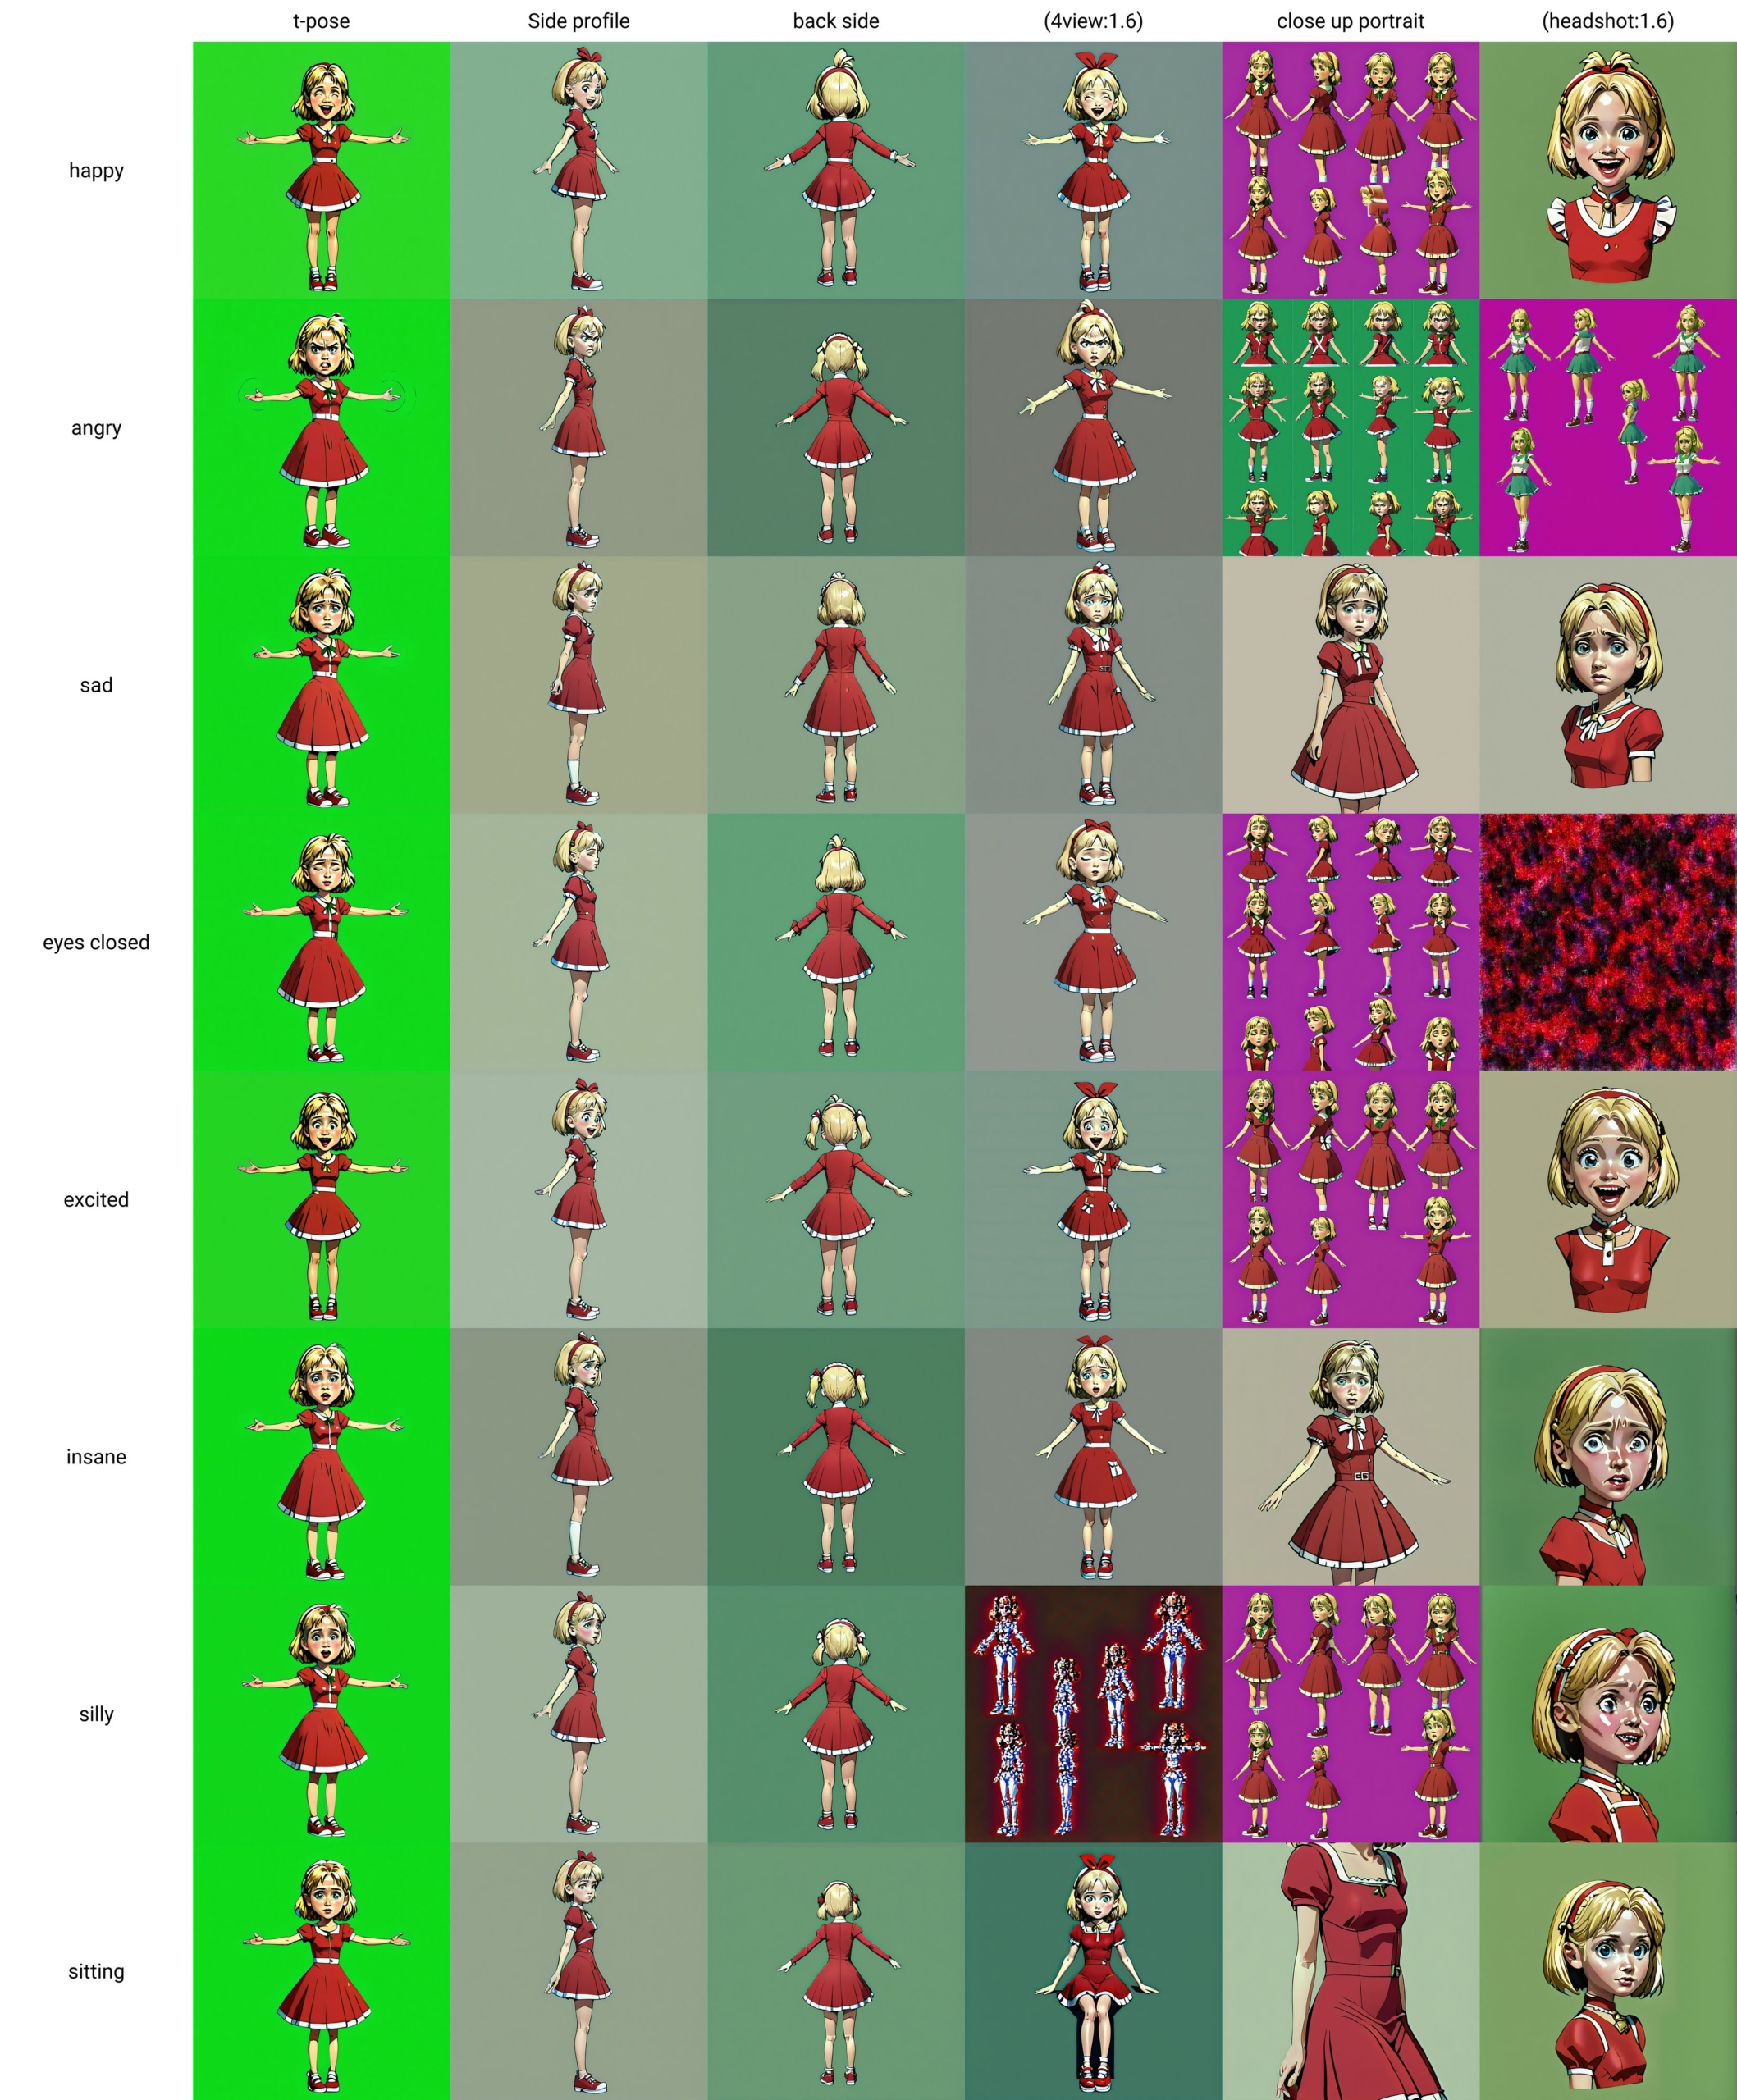
While we could use Character Maker to get 3-5 images of our character using the 4view keyword (see Character Maker docs for more info), more images are always better! Using XYZ Grid in AUTOMATIC1111, you can create around 80 unique image of your character to use in your training. If you download this XYZ grid, drag it into PNGInfo, and send the info to txt2img, you’ll just need to edit the character prompt:

I use an Add Details LoRA, but you can chop that out of the prompt if you want. I’d suggested generating 4-8 options of this prompt, then picking your favorite and copying the seed by clicking the “recycle” button.

Once you have a good seed, scroll down to the bottom and open up XYZ Plot tool under the Scripts dropdown at the bottom of the AUTO1111 page. You should have all the options filled in already, since those settings got sent over in PNG Info.

This will give you a big variety of poses, angles, and emotions to ensure your LoRA has a diverse dataset. Feel free to change up the Y type (Emotions/Poses) to match your character’s vibe. Batman should be brooding, not silly, for example.
When you’re ready, click Generate and make your XYZ plot of about 40 images. Some of these won’t be perfect, but it should give you plenty of options to work with.
Build An Initial Dataset
Now that we have several character images, it’s time to break them up! If you used my settings, they should already be high-res. You can also use the built-in upscaler in your Stable Diffusion software, or a paid software package like Topaz AI to upscale your pics. I generally use Photoshop to cut out each character pose, since they have a great Select Subject tool. You can also use a Stable Diffusion plugin like rembg.
From here, we’ll use these poses to create a collection of portraits of the character at various crops, zooms, angles, etc. If you have a “look” for the world your character will exist in, like me, go ahead and use those images behind your character as a background. Otherwise, leave the background white to make your character flexible in terms of style.
PLAIN BACKGROUND EXAMPLES


COMPLEX BACKGROUND EXAMPLES


Whichever method you choose, eventually you’ll have the 30-40 images you need to train your LoRA! Training a LoRA is a whole tutorial unto itself, but I have some basic tips for you. You can use an online service like CivitAI’s LoRA Trainer, or dive deep on local tools like Kohya_ss GUI or OneTrainer. These programs have a ton of settings! For the most part, you can select one of the presets and leave the defaults. I’ve done two tutorials (Sets + Characters) that go over the details of setting up your training, but one setting you’ll probably want to tweak is the number of steps. The Steps value indicates how many times the training software will look at an image to learn from it. 800-1000 total steps works well for a LoRA training, so if you have 30 training images, set the “repeats” for each image in your training software, 27 repeats will give you just over 800 steps, which should give you an accurate and flexible LoRA, like my Mean Nelly LoRA results below.


Now, you have a custom LoRA model for your original character you can pair with any prompt/checkpoint/style to tell your story. What character are you going to train? Do you have any other techniques you use to keep characters consistent? Let us know in the comments, and download the Mean Nelly LoRA below to try out the final Mean Nelly LoRA!
If you want to try this yourself, check out my family of Everly Heights Character Maker models below.


Download Mean Nelly Pony XL


3 Comments