
Putting unique characters into imaginative situations with AI is a lot of fun. It reminds me of a gumball machine at the mall… What treat will you get when you put in a quarter? But if you’re serious about using AI as a creative storytelling tool, your aim should always be consistency. Consistency in style, consistency in color, and most importantly, consistent characters to tell your story. Making a famous fictional character consistent is simple. Every Stable Diffusion model knows what Superman looks like, more or less. But if you’re creating an original character, you’ll have to teach the AI who your character is.
In this tutorial, I’ll take you through the process of building a robust dataset of example images to train a LoRA for your original character, all from one generated image.
Generate A Character Sheet
First we’ll generate our character sheet to get 3-5 images of our character to work with. Since most Stable Diffusion models understand the concept of a “character sheet,” this process is pretty simple. Just prompt your character with the terms “character sheet” or “character turnaround” at the front of you prompt (i.e. “character sheet. A nerdy math teacher with a mustached and green tie.”). I used my Everly Heights Character Maker LoRA to generate this character turnaround of “Mr. Matheson,” an original character who is a math teacher in Everly Heights and appears in several Everly Heights stories. I also play him in Very Special.

These are good, but the poses are a little random and he’s facing forward in all of them. To lock in consistent poses, you can use the ControlNet extension with an OpenPose model. Here’s one you can use to generate a character sheet at 1344px by 768px.

I recommend dialing back the strength and/or ending step of the OpenPose ControlNet model to give Stable Diffusion time to flesh out the details. If the result is too muddy, which is pretty common with SDXL ControlNets, look at inpainting or Adetailer to refine things like face, hands, etc. until you’re happy with your character. It doesn’t have to be perfect, but we don’t want to leave obvious flaws in for the LoRA model to learn.
Build An Initial Dataset
Now that we have a character sheet, it’s time to break it up! To make things easier to resize and move around, you can upscale your character sheet using the built-in upscaler in your Stable Diffusion software, or a paid software package like Topaz AI or Photoshop’s Neural Filters. I generally use Photoshop to cut out each character pose, since they have a great Select Subject tool. You can also use a Stable Diffusion plugin like rembg.
From here, we’ll use these poses to create 30-40 portraits of the character at various crops, zooms, angles, etc. These don’t have to look great. The important thing is that we see your character in diverse poses. If you have a “look” for the world your character will exist in, go ahead and use those images behind your character as a background. Otherwise, leave the background white to make your character flexible in terms of style.
PLAIN BACKGROUND EXAMPLES


COMPLEX BACKGROUND EXAMPLES


Once you have 30-40 diverse images, it’s time to train your LoRA! Now, training a LoRA is a whole tutorial unto itself, but we have some basic tips for you. You can use an online service like CivitAI’s LoRA Trainer, or dive deep on local tools like Kohya_ss GUI or OneTrainer. These programs have a ton of settings! For the most part, you can select one of the presets and leave the defaults. I’ve done two tutorials (Sets + Characters) that go over the details of setting up your training, but one setting you’ll probably want to tweak is the number of steps. The Steps value indicates how many times the training software will look at an image to learn from it. 800-1000 total steps works well for a LoRA training, so if you have 30 training images, set the “repeats” for each image in your training software, 27 repeats will give you just over 800 steps, which should give you an accurate and flexible LoRA, like my Mr. Matheson LoRA results below.
If you’re happy with these results… GREAT. But in many cases, like with Mr. Matherson above, using such a limited dataset can carry forward flaws into the model, and we don’t want that. To solve for this, you can lower the LoRA weight in your prompt from 1.0 to something like .5-.7.
Rendered at .7 weight

Since I like to have really flexible characters, I’ll almost always retrain the LoRA again using the first LoRA at a low weight like I did above to generate a bunch of pictures and double or triple my initial dateset. I find it helps to use the LoRA with a diverse selection of checkpoints as well, so you won’t be limited by one style. The results of this training will make your LoRA extremely flexible in terms of style/poses/facial expressions and allow you to tell almost any kind of story you want with your character.
UPDATE 11-26-2024:
I’m now using an updated version of the Mr. Matheson model to do a daily comic strip called. Mr. Matheson’s Arithme-Tips, set in Everly Heights. Click below to get caught up!

EDITED 3/19/2025 – Added Full YouTube Tutorial on how I make the comics.
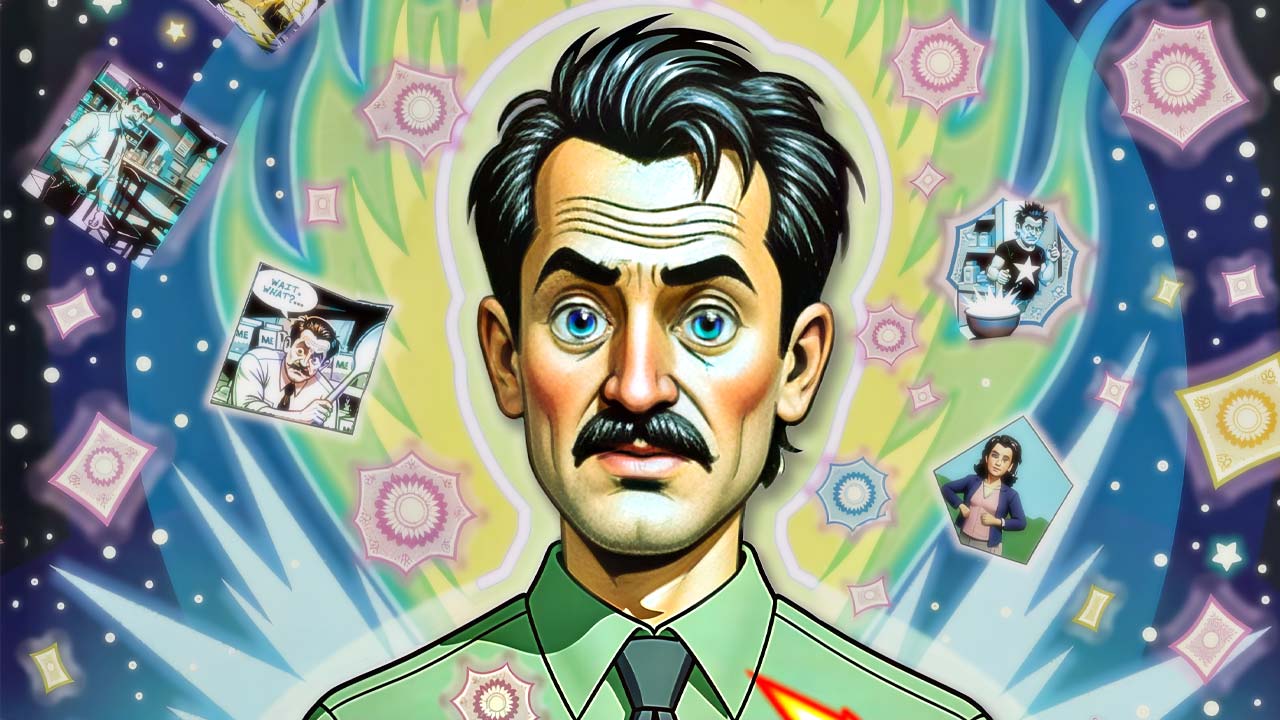
Examples of the Final Mr. Matheson LoRA
")
")
")
")
Now, you have a custom LoRA model for your original character you can pair with any prompt/checkpoint/style to tell your story. What character are you going to train? Do you have any other techniques you use to keep characters consistent? Let us know in the comments, and download the Mr. Matheson LoRA for SDXL below to try it out!
Download Mr. Matheson XL

Everly Heights Character Maker LoRA Family


1 Comment